Deploying React applications in Netlify

First of all, we must create our application in our local environment, for this, we will use Create React App .
The application that we are going to deploy in Netlify will be called hello-react , therefore the command we execute is:
npx create-react-app hello-react
This command creates a basic React application configuring our environment to facilitate our development experience.
The result of executing the command is as follows:

Once our base code is generated, what we must do is upload our code to GitHub.
In simple words, Netlify allows us to publish our static websites in a fast and simple way.
We enter with our GitHub account and in the main menu, we create a new site.

We then select GitHub as the source for our source code.
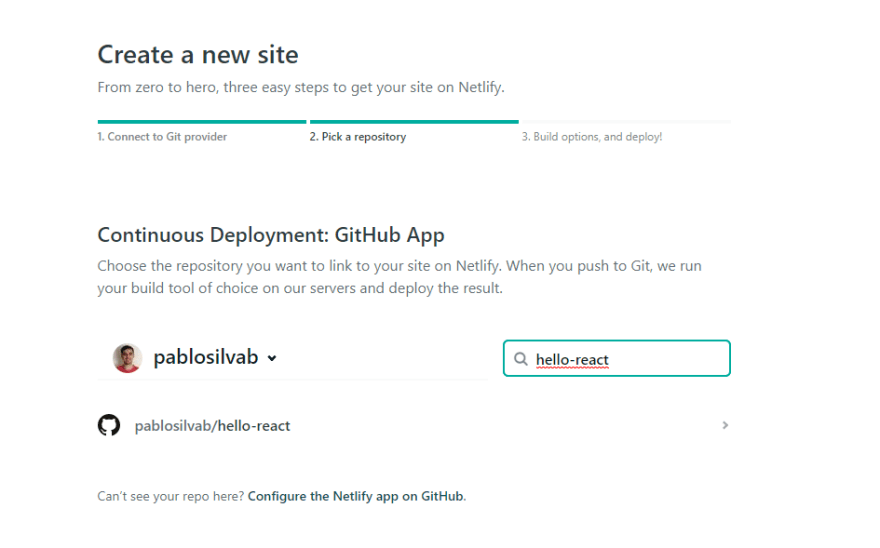
In this step, we will be able to see all the projects we have on GitHub, in my case I will look for my project whose repository is called hello-react.

Finally, we can configure the deployment options. This will depend on the configurations we have in our file package.json. In my case, I will leave the default configuration.

Netlify gives us a domain where we can visit our application publicly and for free. To finish we only have to select the option Deploy Site and wait for the deployment to finish, which will take a few seconds.

Ready! We have already deployed our application developed with React in Netlify.

That’s all for now in this post and I promise to bring more contents every now and then I mean more frequently.


Comments
No comment yet.